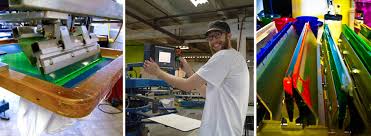
Screen printing is the process of pushing ink through a mesh screen that has a design burnt into the mesh. The ink can be pushed though the screen onto tons of different surfaces and materials. Below we will take you through the steps of screen printing onto apparel!

Designing the Artwork
Our in-house designers will take your ideas and visions and turn them into a design that incorporates the T-shirt color and ink colors using a program such as Corel Draw or Adobe Illustrator. After a designer has finished your piece, a sales representative will send you an art proof.
Processing the Artwork
Once you approve your artwork, a designer will begin a method called color separation. Each color in your design will have its own screen, which is why it is necessary for the designer to separate each color in the artwork. After the design has been broken up into multiple files based on color, our screen printer print those files onto separate pieces of clear film.
Prepping for Print
After the films have been printed, our screen printer will take them into a dark room where they are burned onto emulsion-covered screens using an ultraviolet light unit. The ultra violet light burns each color layer of your design into the screen. A pressure hose is then used to push out the excess emulsion, revealing the design in the screen. Where the emulsion is removed is where the ink will be pushed through.
Screen Printing
After the screens have been prepped and burned, it is time for the actual printing process. Depending on the job, our screen printer will either print by hand or with a press machine. An ink color is poured onto the top of the screen. The garment is placed onto a flat platform straight and evenly. The screen is then lowered onto the garment and a squeegee is pulled across the screen, sliding the ink with it. The garment is then placed onto a belt that runs through a dryer machine and the process repeats!

